Moving DMX onto a Network: the Elation Professional EZ Kling

Where it all begins...

I've already written a few blogs about DMX-512 (commonly just referred to as DMX.) One limitation of DMX is that generally you can only control up to 512 channels of things that need to be controlled. Those 512 channels are called a universe. When we were using PAR cans 512 channels was a lot of lights. Now, with moving heads and LED units using many channels each- it's easy to burn up a universe quickly.  For this reason, some lighting consoles have multiple outputs for universes, four or eight or so.  This means that you end up running four times, eight times, whatever times the cable to the stage- So we really need a better way to do this...

Enter Art-Net

Art-Net is that better way.  I'm not saying it's the best, or only way, but it beats running multiple DMX cables to the stage.  Short version- some very brilliant people at a company called Artistic Licence in the UK figured out how to take all of the little bits and bytes in the DMX-512 protocol, stuff it into little packets and cram it all through modern ethernet cables. In fact we can now transmit over 30,000 universes over a gigabit network.  So let's math that out-

Art-Net III can carry up to 32,768 universes, each has 512 channels of control in it for a whopping 16,777,216 channels of control.

IF we were to use that to control RGB LED lights, that would give us just over 5 million pixels. Not that I'm advocating buying 5 million lights- but if you're considering it, please, please call me! I'd love to help you out with that!

SO- It's not a new protocol- just a new way to transmit it. They've also been super generous and released it through open source and made it easily available so that other people can use it.  I'm not going to go into a lot of the technicals on how it works, there's a great article on Wikipedia here: Art-Net and a link to Artistic-Licence's web site here: Artistic Licence. All of this makes it easier to get into the world of pixel mapping. Simply put- this is taking an RGB LED lighting instrument and using as a part of a video, or some type of graphic display.

So Why The Sudden Interest?

Full disclosure- I currently work at SE Systems in Greensboro NC. We're a live production company, as well as a pro audio, lighting, recording and video sales company. I primarily sell lighting and recording equipment.  Part of my job duties include finding cool new things to carry.

One recent discovery is the Elation Professional EZ Kling. It's a simple little black box network device that will either-

a. Convert KlingNet (basically put- a proprietary video to lighting protocol for pixel mapping lighting instruments) and Art-Net to DMX, or

b. Convert DMX to KlingNet or Art-Net.

So How Can I Use This?

There are several different ways to use the EZ Kling.  Here are a few examples:

  • Expand the DMX output of certain lighting control software, or consoles.
  • Pixel map lights that don't have Kling-Net, or Art-Net natively.
  • Capitalize on existing network infrastructure to control lights in multiple areas, by combining with an Art-Net input device such as an Elation Professional eNode 4 or eNode 8.
  • You could also potentially control small numbers of lights using a Wi-Fi network (I really wouldn't recommend this for large numbers of lights, or super critical lighting work.)

Stay tuned over the next few months as I explore some tricks using these handy little devices.

~Andy

Lighting Control: How to Get More Bang for your Buck..

This is going to be a bit of a longer post, but there's a bit to cover.  A little while ago a person identifying himself  as  StevieWonder posted the following comment on one of my posts:

"Also wondered if you have any recommendations on controlling dmx with software and an ios device or a cheap netbook, or if a standard controller would do the trick? Any advice you can give would be much appreciated!"

This immediately raised one question in my mind. How does Stevie Wonder program lights?

The Dilemma

Until very recently, complex lighting control wasn't very affordable. Even super basic fader controllers to use with a basic dimming system were still around  $900 once you figure in sales tax for 24/48 channels.  They won't control movers well and still use microplex-  which is an archaic control protocol. (Although when looking at what ArtNet and RDM are bringing to the table DMX is archaic too.  All of this is a discussion for another day)

So then we take a look at the basic controllers like the Chauvet Obey Series, or the Elation/American DJ DMX Operator series.  They're great if you only have say 12 different fixture types, and are maybe recalling movement macros, or color macros on your lights. You're probably not going to program the Kiss reunion tour on one of these. I feel like it would be similar to hanging drywall with a screwdriver.  You can do it. But it's going to take a lot of effort.

The Solution

I'm about to say something really crazy. This is especially insane considering over a year ago I posted this blog about choosing a computer for recording- Recording from Your Digital Console: Choosing a Computer. The most cost-effective way to get a lot of features in a lighting control system for not very much money is to buy a touch screen tablet PC running Windows 8.

Many of the current lighting control software options offer remote control via iPad, iTouch, iPhones, and some Android devices, but you have to have a computer to host the main part of the program. Why not just skip a step and buy a touch screen tablet? It will be cheaper than buying a desktop/laptop machine and an iPad. There are some great deals on new and refurbished units out there. You just have to shop around. New Egg and Tiger Direct are two great places to start looking. (Unless we happen to start carrying tablets at work- at which point I'll edit this post and add a link.  Yes, I know shameless plug, but I gotta buy gear too. And eat.  Bacon ain't as cheap as it used to be.)

The Software


For lighting control software there are two main titles I would look at.  One is the Avolites Titan One dongle. The other is Chauvet's Show Xpress. Conveniently, we carry both of these at SE Systems. I'm only going to highlight a few features of each right now. I'll probably go a little more in depth later.

Avolites Titan One

Titan_One_Avolites_900

This. Is. My. New favorite thing! The Avolites Titan one dongle has quite a few advantages working for it.  The first is that it's the same software that all of the Avolites lighting desks use. The Titan One all the way up to their Sapphire Touch use the same exact software. This means if you learn how to use one, you can use them all. Here's a few other advantages:

  1. Price Point- the retail price of this package is only $250.00 USD. You have to be kidding me! Pro level lighting control for less than $300. (OK well you still have to have a computer but still)
  2. Cue Stacking- This is a great feature that allows you to take multiple cues, and assign them to one fader. For example, say you have a look programmed for your house lights, a look for your upstage (back wall) uplighting, and a look for your stage/front lighting. You might have a volunteer running the console, or you may just want to be able to touch one fader to have all three of those things change at one time.  You can do that.
  3. Avo's Quicksketch-  This feature lets you quickly assign a picture or scribble your own to assign to buttons and faders. So you can have a picture that means something to you. Like a guitar for a guitar solo look. Or a picture of Bob if Bob is speaking this week. Or a big red button for your big red look. Or a smiley face with a big hat when the band covers "Happy." PharrellHappyArtNews600
  4. Pallets, Shapes and Pixel Mapper effects-  These are tools that allow you to build shows quickly and efficiently- Think of pallets as collections of attributes.  I have a box of colors. I have a box of moving light positions and movement patterns. I have a box of chases and color changes that I can draw from.  Then I can take these attributes, select the ones I want and place them in a cue or cue stack.
  5. YouTube- There are a lot of YouTube training videos linked on Avolites' website, or you can just look for Avolites' YouTube channel.
  6. The Manual- There is a very detailed manual available for this software that goes over each of the features.

Chauvet's Show Express

showxpress7-l

I've probably spent more time using this particular software than the Avolites. Part of that is that the Avo software hasn't been available quite as long. (At least not at work.) Here's a few things I like about it:

  1. Live Mode: This basically gives you a panel of buttons that you can use to trigger scenes or looks. Very simple interface for a beginning user or volunteer operator. Live mode can also be remotely operated via an iPhone or Android based app. (But if you're running on a Windows 8 machine, there's no need to. Unless you want multiple pages of scene triggers- which might be super handy.)
  2. You can trigger multiple scenes in different windows of live mode. So if you have your uplighting blue, and your stage lighting green- as long as you have those scenes saved separately, you can recall them individually, but at the same time.
  3. Start in Live Mode:  You can actually set the software to start up in "Live" mode so that the operator doesn't have to deal with the set up or programming options.

So this is just a super basic overview of two systems. I may write a more detailed write up of each system in the future.

~Andy

Take a Look at This: DOME PROJECTIONS | Joanie Lemercier

Over the years I have come to realize I am really a fan of all technical arts. One area that fascinates me is projection and projection mapping. I've posted a excerpt and a link from Joanie Lemercier on a dome projection project below:  

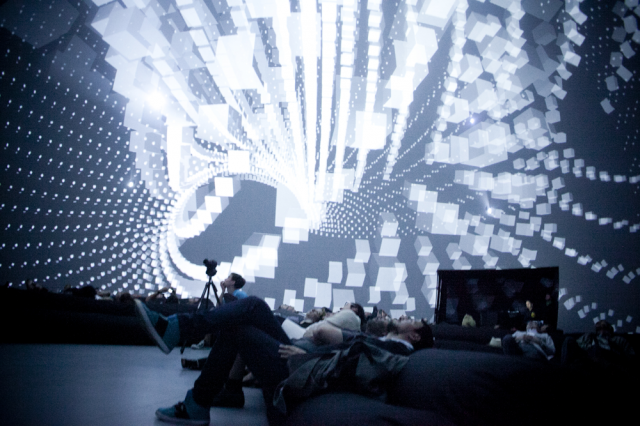
The Satosphere is a 18 meters diameter dome on the roof of the Society for Arts and Technology [SAT] in Montreal. It opened in 2011, and has a 360° x 210° spherical screen, equipped with 8 video projectors, 157 speakers, and has a team of designers and technicians working in the space, doing content creation as well as active R&D on immersive technologies and contents.

via DOME PROJECTIONS | Joanie Lemercier.


~Andy

Ghost in the Machine: Me Vs. a Dante Network

A few months ago, I think it was early March, I went to help a church get some problems with their Dante audio network sorted out.  (Yes, I need to write more often- don't worry,  Mom says the same thing.) They currently have a Yamaha M7CL with two Dante-MY16-AUD cards connected to a Cisco switch, which is connected to another switch in their production room. The two Dante cards handle 16 channels of audio each, so that they can get all 32 channels to their recording room. Their production machine is a Mac Pro running Apple's Logic software.

In full disclosure, let me make the following statements:

  1. I should have payed more attention in NET 125 Networking Basics. But the material was super dry and let's face it.  That's not the sexy side of playing with all of this awesome audio gear. Am I right?
  2. I know people that have fairly complex Dante networks that are working beautifully. For example there is a local college that is cramming audio through their regular infrastructure. Meaning there are multi-channel strings of audio swimming in the same stream with college students streaming Downton Abbey, The Walking Dead, Mad Men, Breaking Bad and Walker Texas Ranger. It works.
  3. Dante works beautifully, and is almost completely "plug and play" on consoles that run Dante natively (that don't need an expansion card) like Yamaha's new CL series consoles and Rio stageboxes.
  4. I typically dislike thing that take a lot of effort to set up. Let me get to what I came to do as quickly as possible. Which is usually mixing.

The Problem

In this particular case, the problem was that the same audio data would show up on channel 1 & 17, 2 & 18, 3 & 19 and so on inside Logic.

So I went through a few quick trouble shooting steps:

  1. I looked at the direct output routing on the M7CL. Everything was patched one to one just as it should be.  Direct Out 1 was patched to Card Slot 2, Output 1-  Direct Out 2 was patched to Card Slot 2 Output 2. (the Dante Cards were in slots 2 & 3) That was all good.
  2. I looked at the matrix in Dante Controller on the Mac. Again everything was patched beautifully.
  3. I looked at the patching in Logic. 1 to 1, 2 to 2.

In theory, everything should work beautifully. It was time to dig deeper. We fired up Dante Controller on the Mac and took a look at the device info and network status.  This is where things got crazy.

Both of the Dante-MY16-AUD showed up in the device list, but only one had an IP address.  So we unplugged the cards one at a time from the network and each one showed up just fine. Then we plugged the second card in. The network assigned the second card the same IP address. That *might* explain the duplicated audio.

We took a quick look at Yamaha's and Audinate's (Dante's parent company) websites to see what the current firmware versions for the Dante Cards, and software.  We were a few versions behind. So we went through the process of updating Dante Virtual Soundcard the production machine, and my laptop, Dante Controller, and the cards in the M7.

We connected everything back up- aaaannnnd....(insert drum roll here) problem not solved. We were still getting duplicate data. If we manually assigned IP address one card wouldn't show up.  It was 3:30 in the afternoon. I had been at the church since 9:30. I had exhausted all of my options except one. Update the firmware on the M7CL. Unfortunately the church had a big production coming up and didn't want to do that and risk losing all of their scene data. I had to concede defeat and return home.

~Andy


Recording From Your Digital Console: Yamaha and Dante- Pt. 1 Configuring the Console

http://www.flickr.com/photos/gabitobalderas/6385082857/

Link to Gabriel's photo stream

The Rig

Now it's time to figure out how to do all of this with a Yamaha digital console, and a Dante network.

The computer of choice will be a 2010 model 13" MacBook Pro running OS X 10.7.5 "Lion." All of the Audio will be pumped into Pro Tools 10.

Our console today will be a Yamaha LS9-32 with two Dante MY 16-AUD Dante Network Cards. These are 16 channel network audio cards. They'll allow us to send 32 audio channels to our computer via CAT5 cable.  We're also going to need a Gigabit Ethernet switch. This will allow us to connect the two Dante cards to the audio network, then use Dante Virtual Soundcard on our computer. We wouldn't have to do quite as much work if we were using one of the newer CL series consoles with a Rio stagebox.

There's a few things to note here-

  1. I'm not going to go into every single detail- for eample installing the cards into the console is pretty easy. The guides on the Yamaha website cover that. I just want to touch a few things that might get missed along the way.
  2. This process might work on the first try for you. Or it might not.  I've had clients that haven't had any issues with a Dante set up. Then I've seen Dante networks collapse after the gigabit switch is power cycled- meaning they work one day, and they don't the other.
  3. You can probably tell by my last two notes that I'm not a huge fan of this setup.

Helpful Links

Here's a few helpful links for more information before you get started.  The first is from Yamaha and contains a few user and setup guides. You'll need to click on the tab titled "self-training." Read through these a few times. They're pretty helpful.

Yamaha / Dante MY 16-AUD Dante Network Cards

You're also going to want to make sure you have the latest software  and firmware updates:

Firmware, Software & Drivers

And you'll need a gigabit switch. As far as I know the Dante networks are a little particular about what hardware you use. There are some guides in the links below to choosing a switch.

Gigabit Switches For CL Series Consoles 

Selecting Network Switches

Getting Started

Installing the Dante cards is covered on page 12 of the current guide, available from the first link above. You'll need to do that, but in short they pretty much just plug into the back of the console.

So, once the cards are installed you'll need to decide what your clock source is. There is a lot of detail about that on pages 28-33 of the Dante-MY16-AUD User Guide.

Then you'll need to configure your direct outs. To do that you'll go to the patch editor on the console. Select the Direct Out patch tab. Then set Input Chanel 1 to Slot 1 Output 1. Set Input Channel 2 to Slot 1 Output 2, and so on.  When you get to Input 17, just set it to Slot 2 Output 1. In short Channels 1-16 Direct Outs get routed through Slot 1 Outs 1-16. 17 -32 get routed to Slot 2 Outs 1-16.

Last Step- this is really important.  SAVE YOUR SCENE. You may also want to consider "safe-ing" your patching. This prevents the output patching from being altered with scene recalls. For all the technical stuff you can stop reading here.

An Apology for the Delay

Now I need to apologize for taking so long to write this part of the series! I think it was October 2013 since my last post. I have to be honest- after I started I got rather bored with it. Having to work out all the computer details and things like that isn't that fun. I'd rather be mixing. Setting up a Dante network can be a bit involved, and sometimes the Dante cards on-board the consoles just don't want to act quite right.  That being said- Yamaha/Audinate have released several updates since I started writing this series that address quite a few problems. It's also noteworthy that the newer Yamaha hardware that are running Dante natively such as the new CL series consoles (CL1,3,5 etc) seem to work extremely well, as far as I know.

2014: A Few Things I'm Excited About

image I pay my bills by working at SE Systems in Greensboro, NC. It's a pretty cool place to work, especially if you're an audio geek. Not only are we a live events production company, and a pro audio, recording and lighting sales company, but we also have an on-site class/presentation room. We are going to be utilizing that room a lot this spring! I'm excited about that.

Rational Acoustics Smaart Training:

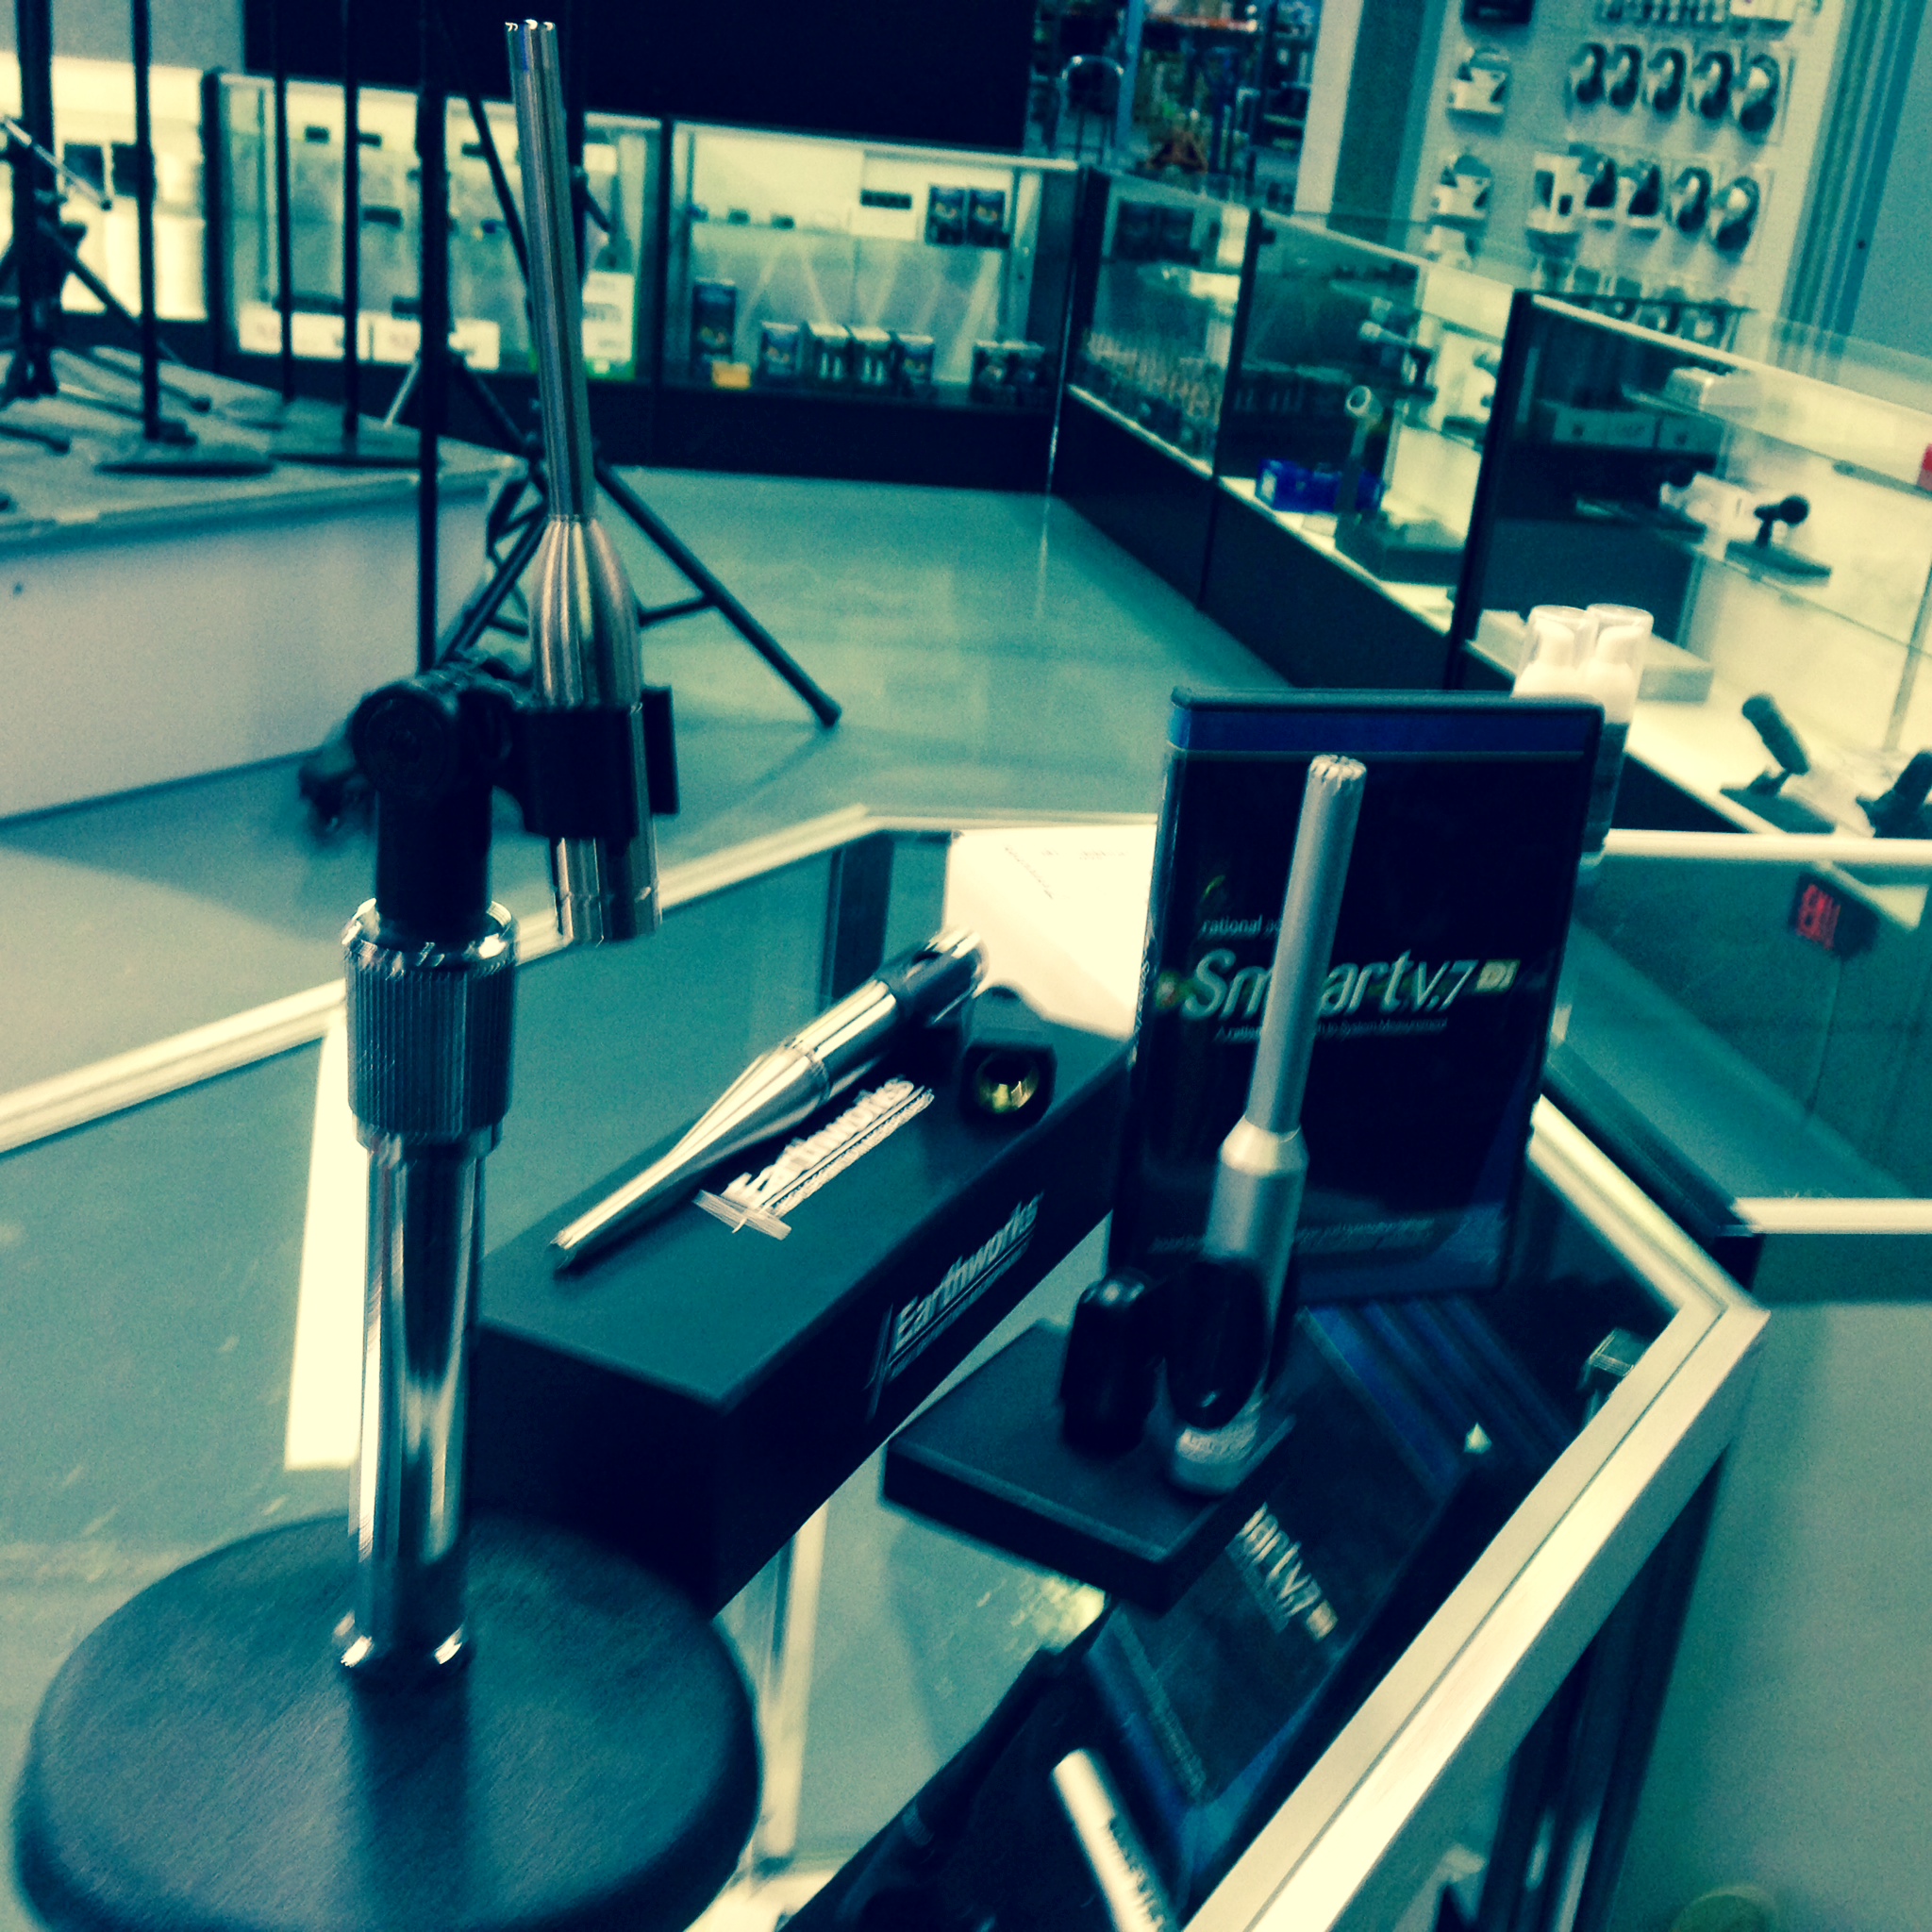
On February 25-27th, 2014, Jamie Anderson from Rational Acoustics- makers of Smaart- audio and acoustic measurement software- will be at SE Systems teaching users how to utilize the software. You can register here: http://www.rationalacoustics.com/events/greensboro-nc/

Smaart is amazing software. In short it allows you to "see" the sound. You can look at the frequency response audio systems. You can look at the reverb time in a room. You can look at the phase correlation between two different audio sources. There's really a lot you can do.

Worship Technology Information & Education Series

This spring we're offering a series of classes for all of the volunteer audio folks out there. Sound techs, sound person, techie, sound guy, A/V tech, worship leader- whatever this person is called at the church- this is for the person that wants/needs to know a little bit more.  Here's the basic layout:

Feb 15:

Audio Mixing and Multitracking.

March 15:

Worship Band Monitor Mixing and Personal Monitor Mixer Techniques.

March 22:

Loudspeakers, Wedge Monitors and Open Architecture Signal Processors.

April 19:

Microphone Techniques.

I hope to have more details soon. In the mean time you can keep an eye on www.sesystems.com

~Andy

Fixing the Source

A few weeks ago I read a blog that a friend of mine linked to on his Facebook page called "Fix It At The Source."  It's a great read on mic-ing technique, and even gives a few pointers on getting guitars dialed in to sound great through a PA system.  Check it out here: Fix It At The Source Sometimes You Have to Fix the Source

I've had the opportunity to operate many different types of audio systems.  I've used anything from beat up all-in-one box mixers to the newest DigiCo and Yamaha digital consoles. (and a lot of stuff in between those extremes.)  I always try to do the best I can with what's in front of me.  Sometimes there's stuff that I just can't fix.

Now before I go further, I have to confess I am a bit of a gear snob.

-BUT-I like to think I'm practical about it- meaning that there are well meaning and justified intentions behind it. I don't have the absolute best-ever-cutting-edge-gear but I like to have reliable stuff that works, and sounds good.  I want to use two illustrations:

I. I'm planning a romantic dinner for my wife on Friday night. So I'm going leave work at the normal time, stop at Harris Teeter, Wegman's, Von's, Safeway, whatever grocery store I happen across -grab two family size cans of Chef Boyardee Spaghetti & Meatballs, rush home and pop those bad boys in the microwave, plop the grub down on some paper plates and dig in.

OR

What would happen if I take off a little early, and stop at Joe's Italian Market? I could grab some fresh pasta, maybe some sun dried tomatoes, some dried herbs. Oh, and we'll add some locally made Italian sausage to that too.  Then I go home and bring all of this together, cook it, plate it, and serve it at a candle lit table?

Which one is my wife going to remember longer? Which one is she going to gush to her friends about?

II. Something to think about.  The person that works on your car probably doesn't buy his tools at Harbor Freight, or Northern Tool. If he did, he probably couldn't get the alternator off your car without cracking a socket, breaking a ratchet handle, or bending a screwdriver.  This stuff is very cheap. It might fine for a few little projects around the house, but you're not doing commercial grade work.

The Point

Having good source material is as important to a good mix, as good ingredients are to a good meal.  Having good tools that provide consistent results are also important.  They take the guesswork out and allow you to get to building good mixes.

A Fender Squire starter guitar kit is great for the beginning guitar player. A Casio keyboard is fine for practicing at home or learning scales. But there comes a point where you should strongly consider better sounding gear. It might even inspire you to play better!

Recording From Your Digital Console: DiGiCo and MADI- Pt. 2 Configuring the Computer

ConfigureComputer First Thing's First

I'm going to be bold here and hope you already have a basic understanding on how your computer works.  We'll assume that you've already installed Pro Tools.  I'm writing this while walking through the process on a 2010 model 13" MacBook Pro. It's running OS X 10.7.5 (Lion), and Pro Tools 10.

On a side note, I usually run my Apple computers one generation behind on the operating system. The reason for this, is that there can be a lot of heartache when you're running things on the bleeding edge of technology. I prefer to let someone else find all the bugs. I actually upgraded this machine from Snow Leopard to Lion shortly after Mountain Lion came out.  One huge reason for that is that Pro Tools wasn't supporting Mountain Lion at the time.

I am also not planning on upgrading to Pro Tools 11 any time soon. There's a lot of issues with plug in compatibility and things like that. If you want to read more about that then check it out at Avid's website here: Pro Tools 11 FAQ

What's Next?

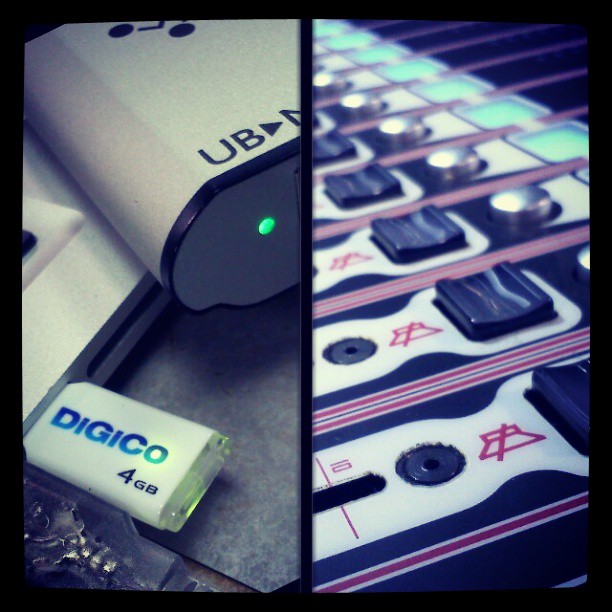
First we need to unpack the UB MADI and install the drivers. The drivers are on a USB flash drive that's in the packaging under the UB MADI. Insert the flash drive, and open it up. Double click on the "Install DiGiCo UB MADI on Macintosh.pkg" file and the installer should start. Then just walk through the process. Then we'll need to set up the I/O in Pro Tools.

To do this, we'll start a new session. Start Pro Tools. I still have the start-up screen on my particular set up, so I'll select create blanks session. For audio file I'm choosing to run 24 bit, 96 kHz broadcast wave files (bwf.)

* Note that the UB MADI will set itself to whatever the audio input sample and bit rate is. If your DigiCo console is running 24 bit 48 kHz then you'll need to set your Pro Tools session accordingly or things won't play nicely together.

Once Pro Tools opens up, we need to change the playback engine. Click on "Setup", select "Playback Engine,"  go to the drop down menu and select "Pro Tools Aggregate I/O." A warning should pop up stating that "Selecting this playback engine will automatically save and close your session....". We are pretty sure we want to proceed so just click "Yes."

The session should restart. After things come back online we can set up our "Pro Tools Aggregate I/O."  That will be a post unto itself. Right now my plan is to touch on setting up a Yamaha console with a Dante network

Recording From Your Digital Console: DigiCo and MADI- Pt. 1 Configuring the Console

SD9andUBMADIThe Rig For this particular example we're going to use a DigiCo SD9, with two D-Racks, and the digital snakes. This is probably my favorite set-up. It's super easy to use, and quick.

To interface the SD9 to the computer, we're going to use a DigiCo UB MADI- MADI to USB 2.0 interface. The computer of choice will be a 2010 model 13" MacBook Pro running OS X 10.7.5 "Lion." All of the Audio will be pumped into Pro Tools 10.

Configuring the Console

On the hardware side of things, you'll need a 75 ohm video grade cable terminated with BNC connectors to connect the console's MADI output to the UB MADI.

Configuring the console has to be one of the easiest set-ups I've ever seen. We are going to copy the inputs from the D-Rack to the MADI output of the console. This taps into the input channels just after the pre-amps, before any EQ or other processing. Here are the steps:

  1. Press the "Master Screen" button on the console.
  2. Select the "Setup" tab on the top right corner of the screen.
  3. Select "Audio I/O."
  4. Find "Rack 1" on the left column of the open window and select it.
  5. Find the "Copy Audio To" button on the top right area of the open window.
  6. Select "3: MADI" in the drop down menu.

Boom! You're done! If you're using 2 D-Racks you would just repeat the process to route the 2nd rack. We can now transmit our audio to the computer. Stay tuned for Part 2, when we will install the UB MADI software and configure Pro Tools 10 to receive the incoming audio!

Recording From Your Digital Console: Choosing Recording Software

Picking Up the Lingo I'm going to start off and just throw a few terms that I might use in the series out there. That way we're all on the same page, and I don't have to type the words "recording software" every other sentence. This may also help as you explore the interwebs and research what options might be best for you. So, without further ado-

The Terms:

DAW- This stands for Digital Audio Workstation. This is what we generally call the software, whether it's Pro Tools, Cubase, Studio One, Reaper etc.

ITB- This is simply an abbreviation of IThe Box. The box in this case is your computer. Some recording engineers prefer to mix out of the box, meaning they're using an audio console to mix their recording projects. Some prefer to mix in the box using the faders in the software.

Plug-Ins- Plug-Ins are virtual equalizers, compressors, reverb and other effect units.  In analog world we would typically patch or plug these into our mixer using cables. Many times ITB we just use a drop down menu.

DAW's- The Contenders:

I'm going to start by answering this question with a question. Which DAW do you like? There are free options like Audacity (which doesn't play nicely or at all with Audinate's Dante Virtual Soundcard. It could have been a problem on my end.) Reaper is a nearly free option ($60 for students or non-profits $255 for everybody else.) Both of these are distributed directly from their websites

Then there's the paid options.  Most people have heard of Pro Tools. It's an industry standard in the professional recording world. Then there's others like PreSonus' Studio One, Steinberg's Nuendo & Cubase  family of products, Sonar by Cakewalk, and Apple's Logic. Each one of these has it's own set of advantages and disadvantages.

So Which One Do I Choose?

It really depends on your end result, and your workflow. Personally I don't have a lot of hands-on time with the Steinberg family products, or Sonar. My two personal favorites are Pro Tools and Studio One. I typically use Pro Tools the most.  I'm just used to the workflow, the keyboard short cuts, and I like the routing matrix.  I would encourage anyone with a little time on their hands to download demo versions of any of  these software packages and try them out. See which one you like.

~Andy

Recording From Your Digital Console: Choosing A Computer

MacVPCCutting to the Chase Buy a Mac.

But Seriously

Buy a Mac. (Are we beginning to see a bias?) This article is a bit tongue-in-cheek.

My Case Against Windows

Have you ever been computer shopping? On the Windows side of things you have Dell, HP, Gateway, Acer and others. Then there's the specialized machines from companies like ADK, Alienware, or Music XPC.  That's seven different manufacturers that I've listed off the top of my head.  Some of those companies have as many 15 different product lines. Each one of these uses different chipsets, different USB and Firewire buses. If you want to see what's available feel free to go to a website like Tiger Direct (www.tigerdirect.com) or New Egg (www.newegg.com.)

My point is, the operating system, Windows, has to be compatible with all of these different machines. It also has to work with all of these different parts. That's a lot of programming code.  There's a great opportunity for something to just not work quite right. When things do go wrong, who do you call? Microsoft? Dell? The mother board manufacturer?

Finally, what version of Windows do you buy? Home, Professional, Ultimate? 7 or 8? Lots of choices. These choices can affect how your computer and audio hardware interface with each other. I will say this. If you are considering Windows 8 for a recording/production machine- wait. The various audio software/hardware manufacturers still need time to update software/hardware drivers. (I would actually say the same thing if Apple just released a new operating system.)

The Argument for Mac

There was a period in my life that I worked in the Keyboard & Recording department at a chain music store. Typically if a customer purchased any recording, or music creation software from me, I'd offer to help them get it installed if they had issues. Granted at this particular time there was a version of Windows called Media Center Edition. That particular version would absolutely not work with external sound cards. Period. Ever. Other than that, it would often take multiple install attempts to get a particular software working. I rarely had Mac users come in with trouble. Things boil down to this. How much time to you want to spend trouble shooting your gear, vs how much time you want to be using it.

If you happen to visit the Apple website, you'll notice there are only five series of computers.  That's considerably less than the plethora of  Windows options. Your choices are two laptop lines, and three desktop lines. Then you have to take into consideration that Apple builds it's own computers, and their operating system (OS X.) That has to guarantee a certain level of cooperation between the software and hardware.

My final argument is that OS X, Apple's operating systems supports Aggregate Audio Devices.

What Do Aggregate Devices Do for Me?

In simple terms they allow you to use multiple sound cards within OS X or within applications that support it. Why is this useful? Well, let's look at our scenario from the previous post in this series. In this case there was a digital audio console at front of house, pumping 32 channels of audio to a computer back stage via a Dante network.  The computer was using Dante's Virtual Soundcard. Unfortunately, because it was a Windows based machine the only audio device it could use was the virtual sound card.

This was extremely problematic for using local audio monitors. One work around would be to close the session, and then re-open it.  Then an Avid M-Box, PreSonus Audio box, or similar device could then be used to connect studio monitors. This would not offer real-time monitoring of input. A second option would be to add another Dante device to the network, in the broadcast room to connect a pair of studio monitors to.

By setting up an aggregate device inside Pro Tools, you can then use the Dante Virtual Soundcard (in this particular case) for input, and select an M-Box or other small interface to use as output for local monitoring.

~Andy

Recording From Your Digital Console: A New Series

digitalrecorder Introducing a New Series

I've decided to take a short break from the lighting world to focus on two other parts of my field: live sound and recording. I may have mentioned before that I work at SE Systems in Greensboro, NC.  SE Systems is a pro audio, lighting and video sales and production company.  A month or so ago we had a customer that was setting up a recording system for a house of worship. He was having some issues getting things working together well so he gave us a call.  I ended up walking him through the setup over the phone. I have since decided to write about it so that others may benefit from what we learned figuring out this job.

The Set Up

All of the church's stage inputs were sent from the stage to the console via an analog snake. The console, a Yamaha LS9-32, had two Audinate MY-16-AUD Dante Network Cards installed. The console's direct outs were routed through the Dante cards. The Dante cards fed 32 channels of audio, via Cat 5 network cable,  to a custom built computer in a broadcast room backstage. The computer used Dante's Dante Virtual Sound Card to interface with Pro Tools 10.

The Problem

Dante Virtual Soundcard turns the computer's network card into an audio interface, allowing the computer to bring in audio from devices using the Dante format. The church had an Avid M-Box to connect to the computer for connecting a pair of studio monitors in the broadcast room.  Unfortunately with some computers and some recording software, you can only use one sound card or interface at a time. This meant that there was no local audio monitoring for the recording engineer to listen to, unless he saved the recording session, and re-opened it using a different audio interface on the computer. Another option would have been to get a Dante device for the broadcast room, but that would have been rather expensive.

The Solution

For now, this particular house of worship is simply just recording their services and saving the session. Then mixing the recording down later using the Avid M-Box for monitoring. It works but, I think it could be better. I'll unpack how to do this well over the next few post.  My plan right now is to break this down into a few sections:

  1. Computer Selection- What to look for in a recording computer
  2. Digital Audio Workstation Selection- This is the actual recording software. We'll reffer to it as the DAW or DAW softare just to save space from here on out.
  3. I'm running into two digital audio formats pretty often at work. A lot of people use Yamaha consoles, and the Dante cards are widely available. DigiCo is also making huge in-roads into the industry. They use a digital audio format called MADI.  I'll take some time and break down how to set up each type.
  4. Finally I'll go over some tips on how to set up your DAW, how to patch things, and some cool tricks we can use to solve monitoring problems.

I'm going to wrap this up by saying that these aren't the end-all/be-all solutions. They are tips to get started fast. I will also warn you that I am extremely opinionated. I've been helping people get recording systems set up for many years. I've run into all kinds of problems. There are some systems and some DAW's that I have run into problems with. There are other systems that I have run into fewer to no problems. I have a heavy bias toward the latter. I also prefer certain things just because they fit my particular workflow or I like the way they look or feel.

~Andy

Out In the Field: When Things Go Wrong...

View From The Desk

The Backstory:

One of the other hats that I wear is volunteering on the production teams at my church, Salem Chapel in Winston-Salem, NC. Typically, once a month, I serve as the audio engineer for three services over one weekend.

Salem Chapel is a mobile church.  In many aspects it is like working for a small production company.  Every Saturday we show up at a local middle school at 2:00 PM, and unload a trailer full of equipment.  Teams of people work around the school setting up different areas of the church. My primary job is to unload the road case that contains the audio consoles, and plug it all in, and have it ready for the worship team to practice at 3:00. Our first weekend service kicks off at 5:00 PM. Things wrap up at 6:30 and the production team and church staff are usually leaving around 7:00 after debriefing.

Sunday morning the production and worship teams arrive at 8:00 for a short practice. The first Sunday service runs from 9:00 to 10:30, and our final weekend service runs from 11:00 to 12:30. Then we pack everything back up, and load it back onto the trailer.

The Problem(s):

Our equipment rides in the back of a 16 foot trailer, bouncing up and down with every bump in the road.  Things shift in road cases. Sometimes gear fails. Then add the fact that we get the get the equipment out and have to connect audio, lighting and video connections,test the system and have it ready to roll for practice in about an hours time. Sometimes we just forget to plug stuff in. Whi is where our first problem this weekend entered.

 "I Can Hear You, But I Can't Hear the Rest of the Band."

This is not something I really want to hear anyone in the band say. It means there's a breakdown somewhere in the signal path. There was a very valid reason that my friend Jake couldn't hear the rest of the band. I could look at the meters on the console and tell I had input on all of the channels. I looked at the lights on the front of our Aviom Personal Monitor input module. It was powered on. I also knew that the Aviom system was on, because Jake could hear me. Then I remembered, during set up, I had not plugged in the DB25 connectors that feed the monitor system. The reason that 3 vocals, 2 acoustic guitars, 2 electric guitars, an electric bass, and two channels of keyboards could not be heard was that their direct outs were not connected.

The DB25 Connectors I forgot to plug in...

Fortunately, it wasn't a huge deal. We caught the problem early, really even before practice started. What can we learn from this?

  1. At some point we might want to consider making a checklist or punch-sheet for setting up the system. That way we set things up quickly and consistently every single time.
  2. To quote one of my college instructors, Thomas Johnson, "It's all about signal flow."  It is absolutely critical to understand how signal flows through your PA system. Where does that sound come from, and where is it supposed to go? If I can hear this, and I am supposed to hear this and that, and I cannot hear that, then why can't I hear that?

Take the time. Learn your system. Ask questions. Read manuals. Even take the time to look at the block diagrams in the manuals. It can save you from having a really bad day, or at least save you a bit of stress.

~Andy

Coming Up...

Found this on Flickr, pic by Cordey: http://www.flickr.com/photos/flygraphix/3244828717/ I just wanted to take a moment and throw out a quick teaser of what's coming up.

Before I continue with "Programming Inexpensive Controllers", I'm going to revisit the  "Illuminating DMX" series. I want to take some time to go over DMX protocol charts, which are found in the manuals of most lighting instruments. In short these charts explain what parameters of the instrument are controlled by what DMX channel. I feel like it's important to understand this, so that you can develop a strategy for addressing your instruments, as well as programming scenes.

I would also like to take a trip through audio world for a little while.  Some of this will probably sound like a foreign language to some of you, but that's ok.  I'll try to unpack this stuff in depth sometime.  I recently had a customer purchase two Dante-MY-16-AUD digital network cards. These cards allow the user to take 16 channels of audio, bi-directionally into and out of a console via Gigabit Ethernet. They were installed into a Yamaha LS9 digital audio console. The goal was to take 32 direct outs from the console at front of house, and feed a computer in a broadcast room in another part of the church, then record that using Pro Tools 10. I'll take some time to explain how we had to patch the direct outs in the console, set up the Dante Virtual Soundcard on the computer, and build an aggregate audio device in Pro Tools so we could have local monitoring in the broadcast room.

~Andy

Out In the Field: Console Tape & Sharpies

by Andy Barnhill

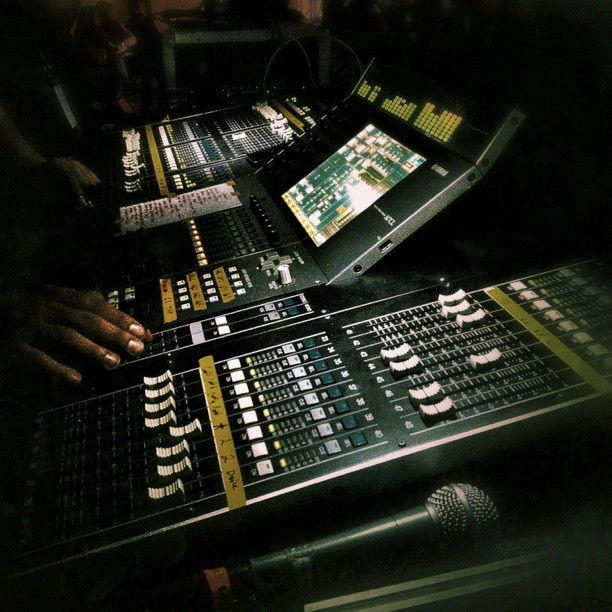
Console Tape and Sharpies

Console Tape and Sharpies

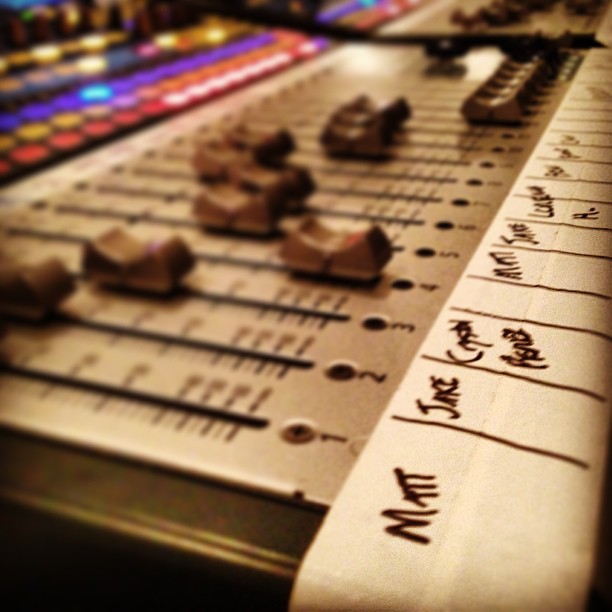
Two things every audio engineer should have with them at all times are console tape and a Sharpie. This can be super handy for the volunteer audio engineer in a house of worship.  Why console tape? There's a few reasons:

  1. It's whiter than masking tape, so there is better contrast between the black marker and the white tape. This is especially helpful in low-light situations. Blue painters tape can work in a pinch, but the contrast between the tape and the ink is terrible. Note that I emphasized "can" and "in a pinch." Blue tape isn't the best option.
  2. It (typically) doesn't leave residue on the console, or remove the paint. I say typically, because if you do leave the tape on the mixer for a long period of time, it can gum up a little. I will also add that one Sunday, the tape did pull some of the gray paint off of the console in the picture above.
  3. It's a really great way to develop rapport with the worship team. You might be asking yourself, "how is this so?"

I typically use 3/4" tape, often two strips just below the faders. On our console, we already have a strip of tape above the faders that label the inputs with things such as "Lead Vox," BG Vox 1," BG Vox 2," "AG 1," (For Acoustic Guitar) and other inputs.

What I like to do is put the persons name below the fader. This can be especially helpful when there are new members in the worship team, or even different members each week. It gives me a reminder of the person's name at each position in the band.  I don't have to think about it, I can just look down.  I could ask, "Hey, backing vocalist, would you mind singing a little louder?" On the other hand, if I have the person's name under their input, I can make a more personal connection, for example, "Jake, would you mind turning the output on your acoustic up a little bit?"

It keeps me from having to stop and ask something, like, "Hey, I'm sorry, what's your name? Oh yeah, well could you ...." Any time you can connect with the worship team on a personal level, it helps create unity between the band and the technical team.

Think about it like this: are you more prone to respond positively to someone asking you to do something by name, or if someone asks," Hey, sound guy, umm can you turn up my monitors?"

Documentation Is Key

by Andy Barnhill

As a technician, designer, or engineer documentation is absolutely critical. Missing information can bite us in the future. Detailed information can be extremely helpful.  Recently Peter Gabriel released a 25 anniversary edition of the album So.  In an excerpt from Peter Gabriel's website, Richard Chappell shared the following:

"Ian made some experimental changes but both he and Peter agreed that it sounded great as it was. Incredibly Ian actually had the original notes from the session 25 years before! They ended up approaching the mastering in the same way that they had at the very first session."

For more about Peter Gabriel's So 25th Anniversary, check it out here: http://petergabriel.com/so25/